Table of Contents
ToggleLearning how to home networking works can transform your digital life. A well-designed home network connects all devices, computers, phones, smart TVs, and gaming consoles, into one seamless system. This guide walks beginners through each step, from choosing the right equipment to fixing common problems. Whether streaming movies or working remotely, a solid home network makes everything faster and more reliable.
Key Takeaways
- A home network connects all your devices—computers, phones, smart TVs, and gaming consoles—through a modem, router, and either wired or wireless connections.
- Position your router in a central, elevated location away from interference sources like microwaves and cordless phones for optimal Wi-Fi coverage.
- Secure your home networking setup by changing default passwords, enabling WPA3 encryption, and creating a separate guest network for visitors.
- Use Ethernet cables for devices that need consistent speeds, such as desktop computers and gaming consoles, while relying on Wi-Fi for mobile devices.
- For large homes or areas with dead zones, consider adding a mesh Wi-Fi system or powerline adapters to extend network coverage.
- Troubleshoot slow speeds or connection issues by restarting your modem and router, updating firmware, and checking for bandwidth-heavy devices on your network.
Understanding the Basics of Home Networking
A home network is a system that connects multiple devices within a household. These devices share an internet connection and can communicate with each other. Understanding how to home networking functions starts with knowing three key components: the modem, the router, and connected devices.
The modem connects your home to your internet service provider (ISP). It translates the signal from your ISP into data your devices can use. Think of it as the bridge between the outside internet and your home.
The router distributes that internet connection to all your devices. It creates a local network, assigns IP addresses, and manages traffic between devices. Most modern routers also broadcast Wi-Fi signals.
Connected devices include anything that uses the network, laptops, smartphones, smart speakers, security cameras, and gaming systems. Each device receives a unique IP address from the router, allowing them to send and receive data.
Two types of connections exist in home networking: wired (Ethernet) and wireless (Wi-Fi). Wired connections offer faster speeds and more stability. Wireless connections provide flexibility and convenience. Most households use a combination of both.
Essential Equipment You Need
Setting up home networking requires specific hardware. Here’s what every beginner needs:
Modem: Your ISP may provide one, or you can purchase your own. Buying a modem often saves money over time compared to rental fees. Check compatibility with your ISP before purchasing.
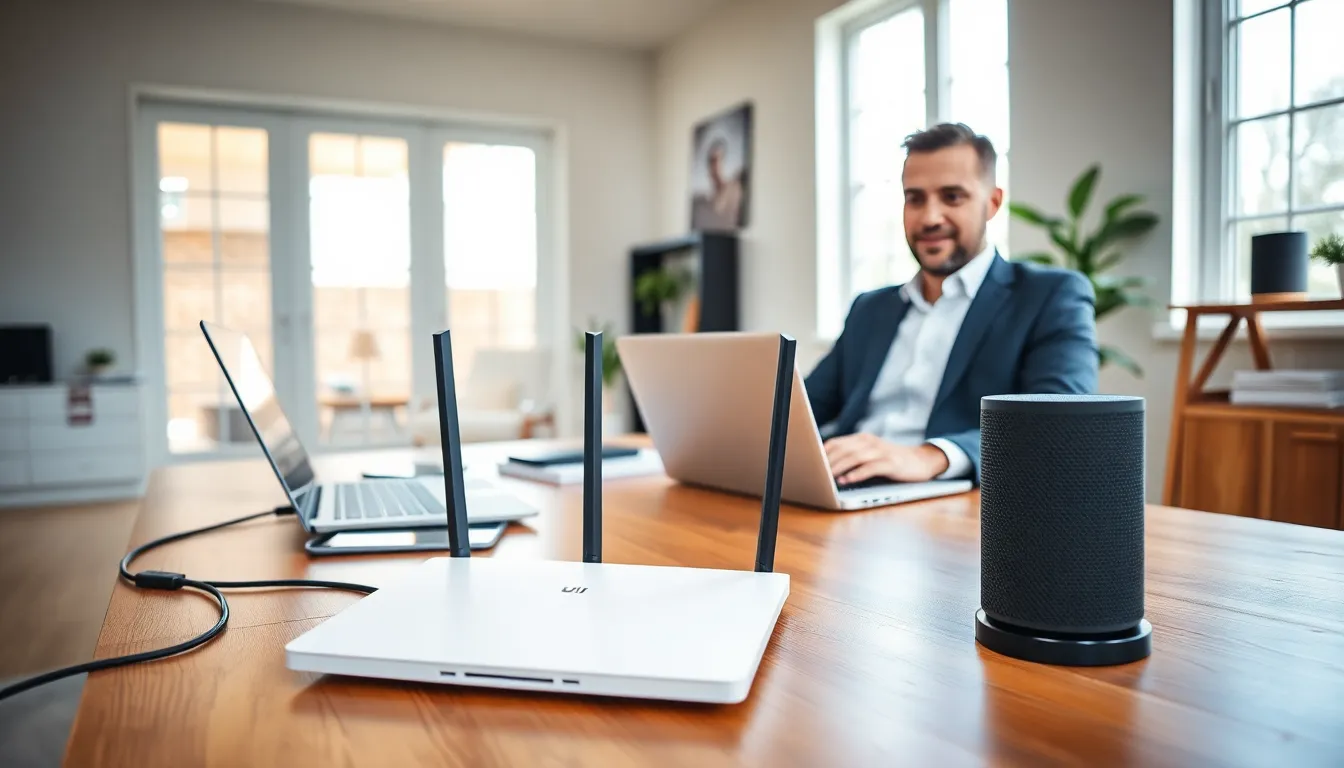
Router: This is the heart of your home network. Look for routers that support Wi-Fi 6 or Wi-Fi 6E for better speeds and device management. Dual-band or tri-band routers handle multiple devices more efficiently.
Ethernet Cables: Cat6 or Cat6a cables work well for most homes. Use these for devices that need consistent speeds, like desktop computers, gaming consoles, or streaming boxes.
Mesh Wi-Fi System (optional): Large homes or those with thick walls benefit from mesh systems. These use multiple units placed throughout the house to eliminate dead zones.
Network Switch (optional): If you need more wired connections than your router provides, a network switch expands your Ethernet ports.
Powerline Adapters (optional): These send network signals through electrical wiring. They help connect devices in rooms far from the router without running long cables.
Setting Up Your Home Network Step by Step
Follow these steps to set up home networking from scratch:
Step 1: Position Your Equipment
Place your modem near the cable or fiber connection point. Position your router in a central location, elevated if possible. Avoid corners, closets, and areas near microwaves or cordless phones, these interfere with Wi-Fi signals.
Step 2: Connect the Modem
Plug your modem into the wall outlet (coaxial cable for cable internet, phone line for DSL, or Ethernet for fiber). Connect the power cable and wait for the modem to fully boot. This usually takes 2-5 minutes.
Step 3: Connect the Router
Use an Ethernet cable to connect the modem’s output port to the router’s WAN or Internet port. Plug in the router and wait for it to boot.
Step 4: Access Router Settings
Connect a computer to the router via Ethernet or use the default Wi-Fi network (credentials are usually on a sticker on the router). Open a web browser and enter the router’s IP address, commonly 192.168.1.1 or 192.168.0.1.
Step 5: Configure Basic Settings
Change the default admin password immediately. Create a unique Wi-Fi network name (SSID) and a strong password. Enable WPA3 encryption if available, or WPA2 as a minimum.
Step 6: Connect Your Devices
Join each device to your new Wi-Fi network using the password you created. For wired devices, connect Ethernet cables directly to the router.
Securing Your Home Network
Home networking security protects your data and devices from threats. Take these steps to keep your network safe:
Change Default Credentials: Routers ship with factory usernames and passwords. Hackers know these defaults. Change both the admin login and Wi-Fi password immediately.
Use Strong Encryption: WPA3 provides the best protection. If your devices don’t support WPA3, use WPA2-AES. Never use WEP, it’s outdated and easily cracked.
Create a Guest Network: Set up a separate network for visitors. This keeps your main network isolated and protects your personal devices.
Update Firmware Regularly: Router manufacturers release updates that fix security holes. Check for updates monthly or enable automatic updates if your router supports them.
Disable WPS: Wi-Fi Protected Setup makes connecting devices easier but creates security vulnerabilities. Turn it off in your router settings.
Use a Firewall: Most routers include a built-in firewall. Make sure it’s enabled. Consider additional firewall software on individual devices for extra protection.
Troubleshooting Common Network Issues
Even well-configured home networking setups encounter problems. Here’s how to fix the most frequent issues:
Slow Internet Speeds
- Run a speed test to check actual speeds against what you’re paying for
- Restart your modem and router (unplug for 30 seconds, then reconnect)
- Move closer to the router or reduce interference
- Check if other devices are using heavy bandwidth
Devices Won’t Connect
- Verify the Wi-Fi password is correct
- Restart the device attempting to connect
- Check if MAC address filtering is enabled on your router
- Ensure the device’s Wi-Fi adapter is turned on
Intermittent Connection Drops
- Update router firmware
- Change the Wi-Fi channel to reduce interference from neighbors
- Check for overheating, routers need ventilation
- Consider upgrading older equipment
Can’t Access Router Settings
- Confirm you’re using the correct IP address
- Try a different web browser
- Reset the router to factory settings as a last resort (you’ll need to reconfigure everything)
Dead Zones in Your Home
- Reposition the router to a more central location
- Add a Wi-Fi extender or mesh system
- Use powerline adapters to reach distant rooms


